How to sync all iPhone messages on Mac
In this quick step-by-step tutorial, we’ll show you how to make your iPhone SMS, MMS, RCS texts, and iMessages appear within the Messages app on your Mac.
This feature, which is officially called Messages in iCloudensures that all your documents are available on all your Apple devices.
It opens Messages in iCloud it allows you to access, respond to, and delete documents on your Mac, and these changes will appear on your iPhone.
Additionally, if this feature is enabled, you’ll receive notifications of new SMS, MMS, and RCS texts right on your Mac (new iMessage notifications appear even if you don’t open. Messages in iCloud but use the same iMessage/Apple account on your Mac and iPhone).
In addition to this, with Messages in iCloud activated on your computer, you can autofill one-time codes in Safari on Mac, without touching your iPhone. It’s not really easy (if it works).
What you need to see iPhone messages on Mac
Messages in iCloud requires the following:
- Sign in to the same Apple account on both devices
- Sufficient free iCloud space (messages stored in iCloud count towards your allocated storage space)
- Connect both devices to the Internet
- Open the feature, as mentioned below
Sync iPhone messages to Mac
You need to enable Messages in iCloud on both your iOS and macOS devices. We explained everything in two easy steps.
Step 1: Open Messages in iCloud on iPhone
1) Open iOS Settings app.
2) Tap Your Apple Account name up.
3) Tap iCloud.

4) Tap Messages.
5) Open it Use this iPhone.

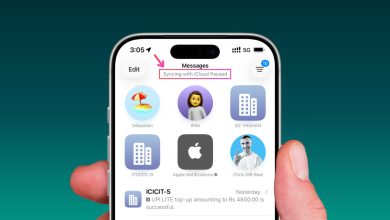
Now, your iPhone will start uploading all your messages to iCloud, which may take a long time, especially if you have thousands of documents and slow internet.

Step 2: Open Messages in iCloud on Mac
1) Present it System Settings on your Mac.
2) Click Your Apple Account name in the upper left corner.
3) Select iCloud.
4) Click Messages.
5) Turn on the switch Use on this Mac and then click Done.

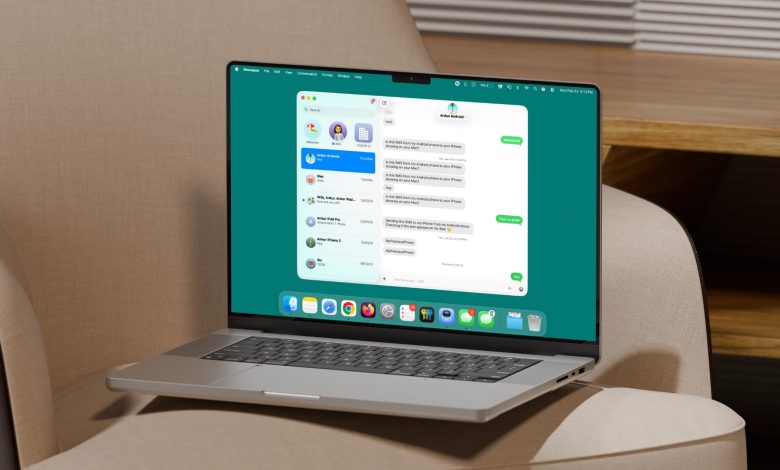
Your Mac will now download all the messages your iPhone has uploaded to iCloud. Open the macOS Messages app to see them.
From now on, your iPhone messages will be uploaded to iCloud and downloaded to your Mac every time. For reliable syncing, it’s best to leave your iPhone connected to Wi-Fi and charging overnight. If you don’t connect your iPhone to Wi-Fi regularly, you may notice that old messages have not been synced to iCloud via mobile data. In this case, go back to the iOS messages in the iCloud settings and use the file Sync Now button to do it manually.
Additionally, remember that many iCloud sync features, such as iCloud Photos and Messages in iCloud, are temporarily suspended when your iPhone and Mac are in Low Power Mode.
If you have multiple MacBooks and Mac desktops, repeat the above steps on all computers where you want to access iPhone messages. However, I wouldn’t recommend using it on Macs that you share with other people, such as your office computer or one in the guest room. If you must be able to access iPhone messages on such computers, create a separate account and open it there. Do not let anyone else use this account or disclose its login password.
You can also use the same steps as above to access all iPhone messages on another iPhone, iPad, and Apple Vision Pro, as long as all devices use the same Apple ID.
If your iMessages are not showing up on Mac
Follow these quick steps to ensure that iMessage works with the same accounts on your iPhone and Mac. This will ensure the same iMessage texts on both devices.
- Open macOS A messaging app and then click Messages > Settings in the top menu bar.
- Go to iMessage tab.
- Make sure that Apple Account it’s the same as the one on your iPhone. Then, make sure the phone number and email addresses you see under “You can be reached by messages at” are the same as those entered by you iPhone settings > Applications > Messages > Send & Receive.